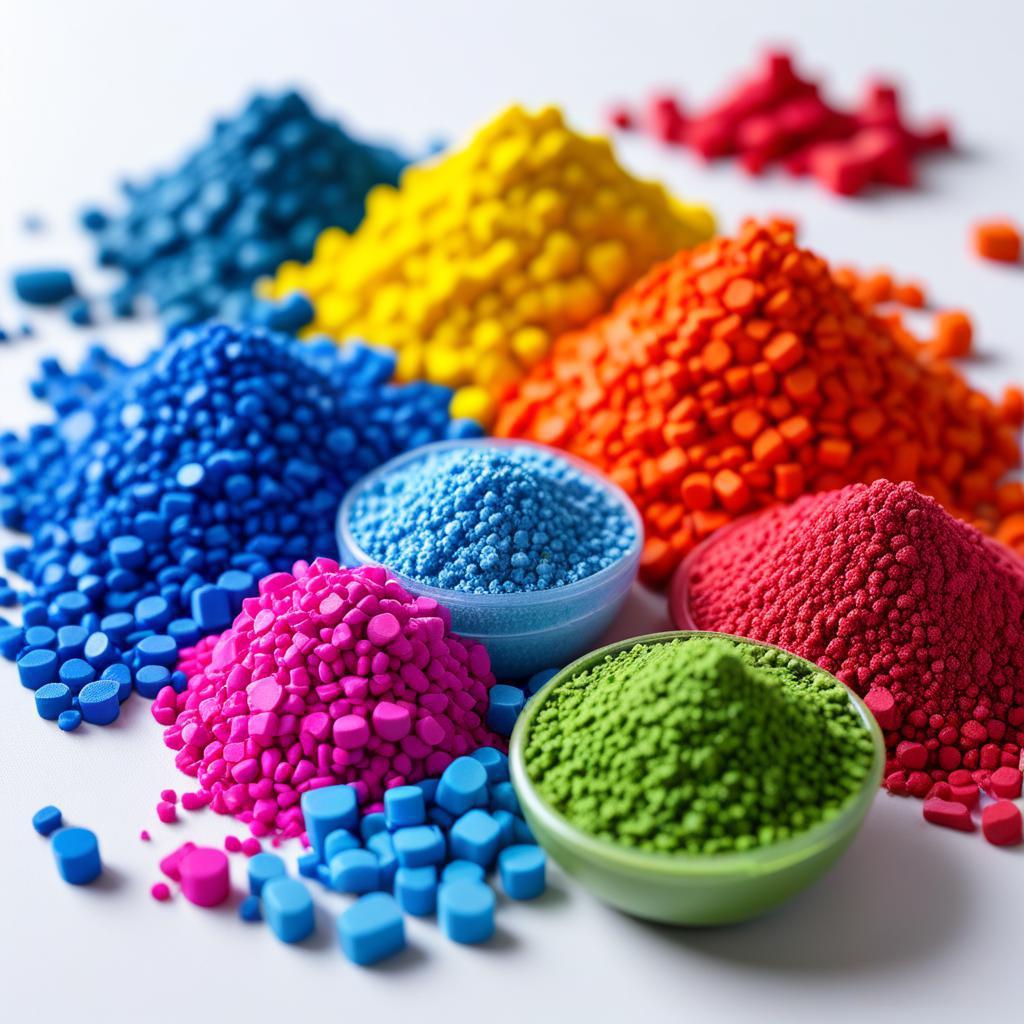
I’ve been in the plastics and rubber industry for nearly two decades, and one issue that keeps popping up—especially with TPR (Thermoplastic Rubber)—is color bleeding after spray painting. You’ve spent hours perfecting a TPR product, applied a vibrant coat of paint, and then, to your horror, the color starts migrating, leaving streaks or discoloration that ruin the finish. It’s frustrating, costly, and can tank product quality. Having tackled this problem on countless production lines, I’m here to break down why TPR bleeds color post-painting and share practical solutions to stop it in its tracks. Let’s get to the root of this sticky issue.

Understanding Why TPR Bleeds Color After Spray Painting
TPR’s flexibility and soft, rubbery texture make it a go-to for products like shoe soles, toys, and grips. But its chemical makeup and surface properties can make spray painting a nightmare. From my experience, color bleeding happens when paint pigments or solvents migrate into or out of the TPR surface, causing discoloration or uneven hues. Here’s what I’ve identified as the main culprits:
Excessive Softener Content: TPR often contains softeners like white oil, which can migrate to the surface, dissolving or destabilizing paint.
Incompatible Paint and TPR: Using paints not designed for TPR leads to poor adhesion or chemical reactions that cause bleeding.
Improper Surface Preparation: TPR’s low surface energy and oily residue can prevent paint from bonding, leading to migration.
Curing Issues: Inadequate curing time or temperature allows solvents to remain active, triggering pigment movement.
Environmental Factors: High humidity or temperature during painting or storage can exacerbate bleeding.
Material Contaminants: Impurities or additives in TPR can react with paint, causing discoloration.
These factors often work together, so let’s dive into solutions that address each one, drawing from my hands-on fixes.
How to Prevent Color Bleeding in TPR Spray Painting
1. Optimize TPR Material Formulation
The TPR itself is often the starting point of the problem. I once worked with a factory producing TPR grips that bled red paint like a bad dye job. The issue? Too much white oil in the formula. After tweaking it, the bleeding stopped.
Reduce Softener Levels: High softener content (e.g., white oil >30%) makes TPR surfaces oily, destabilizing paint. Work with your supplier to lower softeners to 20-25%, balancing flexibility and surface stability. Refer to this study on TPR formulation for insights on softener effects.
Use Low-Migration Additives: Incorporate additives like silicone-based stabilizers (0.5-1%) to reduce oil migration. Avoid cheap fillers that can leach out and react with paint.
Test Material Compatibility: Before production, test TPR batches with your paint system. Apply paint to a small sample, cure it, and store it for 48 hours at 25°C to check for bleeding.
Tip: Request a Technical Data Sheet (TDS) from your TPR supplier and verify the softener and additive profile. Small-batch trials (5-10 kg) can save you from large-scale disasters.
2. Choose the Right Paint System
Not all paints play nice with TPR. I’ve seen factories use generic paints only to watch them bleed within days. The key is matching the paint to TPR’s unique chemistry.
Select TPR-Specific Paints: Use polyurethane-based or silicone-modified paints designed for low-surface-energy materials like TPR. These have better adhesion and resist solvent migration.
Avoid Solvent-Heavy Paints: High-solvent paints (e.g., >50% volatile organic compounds) can dissolve TPR’s surface, causing bleeding. Opt for low-VOC or water-based paints where possible.
Test Paint Adhesion: Perform a cross-hatch adhesion test (ASTM D3359). Apply paint, score it in a grid, and tape-test it. Aim for 4B or 5B adhesion (minimal flaking).
Use Primers: Apply a TPR-compatible primer before painting to create a barrier against softener migration. Primers with chlorinated polyolefins work well for TPR.
Case Study: A client’s TPR shoe soles bled blue paint due to a solvent-based topcoat. Switching to a water-based polyurethane paint and adding a primer cut bleeding incidents by 95%.

3. Master Surface Preparation
TPR’s naturally oily surface is a paint’s worst enemy. I’ve spent hours cleaning parts to get paint to stick without bleeding, and proper prep is a game-changer.
Clean Thoroughly: Wipe TPR surfaces with isopropyl alcohol (IPA, 99% purity) to remove oil and dust. Use lint-free cloths and clean just before painting to avoid recontamination.
Plasma Treatment: For stubborn surfaces, use low-pressure plasma treatment to increase surface energy from 30-35 mN/m to 40-45 mN/m. This boosts paint adhesion and reduces bleeding risk.
Sand Lightly: For textured TPR, lightly sand with 800-1000 grit sandpaper to create a micro-rough surface for better paint grip. Clean again post-sanding.
Apply Adhesion Promoters: Spray a thin layer of adhesion promoter (e.g., polyolefin-based) before priming to enhance bonding and block softener migration.
Note: Always test surface prep methods on samples. Over-sanding or aggressive plasma can damage TPR’s flexibility.
4. Optimize Paint Curing Process
Curing is where many factories trip up. I once saw a batch of TPR toys bleed because the curing oven was set too low, leaving solvents active. Proper curing locks the paint in place.
Set Correct Temperatures: Cure at 60-80°C for 20-30 minutes, depending on paint specifications. Use an infrared thermometer to verify oven accuracy.
Ensure Adequate Time: Don’t rush curing. Incomplete curing traps solvents, leading to bleeding. For water-based paints, extend curing by 5-10 minutes to evaporate moisture.
Use Forced Air: Circulate hot air in the curing oven to ensure even heat distribution. Avoid stacking parts during curing to prevent uneven drying.
Test Curing Quality: After curing, perform a solvent rub test. Rub the painted surface with a cloth soaked in IPA (50 rubs, moderate pressure). No color transfer means a solid cure.
Tip: If oven space is limited, use UV-curable paints for faster curing, but ensure UV lamps are calibrated to 300-400 nm wavelength.
5. Control Environmental Conditions
Your workshop environment can sabotage your paint job. I’ve seen high humidity turn painted TPR parts into a streaky mess, especially in coastal factories.
Maintain Stable Conditions: Keep the painting area at 20-25°C and 40-60% humidity. Use dehumidifiers and air conditioners to stabilize conditions.
Minimize Dust: Operate in a Class 10,000 cleanroom or use dust shields around spray booths. Filter air intake to reduce airborne particles.
Store Properly Post-Painting: Store painted parts in a dry, 15-20°C environment for 24-48 hours post-curing to allow full stabilization. Avoid stacking to prevent pressure-induced bleeding.
Quick Fix: If humidity spikes, use portable dehumidifiers near the painting area and seal windows to block moist air.
6. Conduct Pre-Production Testing
Testing is your safety net. I’ve saved clients thousands by catching bleeding issues in small trials before full production.
Simulate Real Conditions: Paint and cure TPR samples, then store them at 25°C and 60% humidity for 72 hours. Check for bleeding visually and with a magnifying glass (10x).
Accelerated Aging Test: Place painted samples in a 40°C, 80% humidity chamber for 48 hours to simulate long-term storage. No bleeding means your process is robust.
Chemical Resistance Test: Expose painted parts to common stressors (e.g., water, IPA, or sweat simulant) for 24 hours. Look for color migration or fading.
Document Results: Log test outcomes with photos and notes to refine your process.
Case Study: A factory’s TPR grips bled after a month in storage. Accelerated aging tests revealed a curing issue. Raising the curing temperature by 10°C eliminated the problem.

Comparative Table of Anti-Bleeding Strategies
Here’s a table comparing methods to prevent color bleeding in TPR:
|
Method |
Cost |
Effectiveness |
Best For |
Pros |
Cons |
|---|---|---|---|---|---|
|
Formula Optimization |
Medium |
High |
All TPR products |
Long-term fix, improves stability |
Requires supplier collaboration |
|
TPR-Specific Paint |
Medium |
High |
Mass production |
Reliable adhesion, low bleeding |
Higher paint cost |
|
Plasma Treatment |
High |
Very High |
High-end products |
Boosts adhesion, durable |
Expensive equipment, skilled operators |
|
Proper Curing |
Low |
High |
All production scales |
Cost-effective, scalable |
Needs precise control |
|
Adhesion Promoter |
Medium |
High |
Complex TPR shapes |
Enhances bonding, easy to apply |
Adds process step, cost |
|
Environmental Control |
High |
Medium |
Humid or dusty workshops |
Prevents external interference |
High setup cost, ongoing maintenance |
Recommendation: Combine formula optimization, TPR-specific paint, and proper curing for cost-effective results. Add plasma treatment for premium products.
How to Verify Bleeding Prevention?
To ensure your fixes work, use these methods:
Visual Inspection: Check painted parts under bright light for streaks or discoloration. Use a 10x magnifying glass for detail.
Tape Test: Apply adhesive tape to the painted surface and peel it off. No paint transfer indicates good adhesion and low bleeding risk.
Solvent Wipe Test: Wipe the surface with IPA-soaked cloth (50 rubs). No color on the cloth means the paint is stable.
Storage Test: Store painted parts for 72 hours at 25°C, 60% humidity. Check for bleeding or fading.
Tip: Keep a defect log with photos to track improvements and identify recurring issues.

Frequently Asked Questions
Here are answers to common questions I’ve heard from colleagues and clients:
Q1: Can I use regular paint on TPR to save costs?
A: It’s risky. Generic paints often bleed due to TPR’s oily surface. Invest in TPR-specific paints or test thoroughly to avoid rework costs.
Q2: How long should I cure painted TPR parts?
A: Typically 20-30 minutes at 60-80°C, but check paint specs. Water-based paints may need 5-10 minutes longer. Test with a solvent rub to confirm.
Q3: Does plasma treatment affect TPR’s flexibility?
A: If done correctly (low pressure, 30-60 seconds exposure), it only modifies the surface and preserves flexibility. Over-treatment can cause brittleness, so test first.
Q4: What if bleeding shows up weeks after painting?
A: Late bleeding often stems from softener migration or poor curing. Increase curing time/temperature and reduce softener content. Run accelerated aging tests to catch issues early.
Q5: Can humidity really cause bleeding?
A: Yes. High humidity (>70%) during painting or storage can trap moisture, destabilizing paint. Keep conditions at 40-60% humidity for best results.
Closing Thoughts
Color bleeding in TPR spray painting is a beast, but it’s one you can tame with the right approach. From tweaking your TPR formula to nailing the curing process and keeping your workshop pristine, every step matters. My years in the industry have taught me that patience and rigorous testing are your best friends. Start with small trials, refine your process, and don’t hesitate to experiment. If you’re grappling with a specific bleeding issue or need tailored advice, drop a comment—I’m happy to share more tricks from my playbook. Here’s to vibrant, bleed-free TPR finishes that make your products pop!


