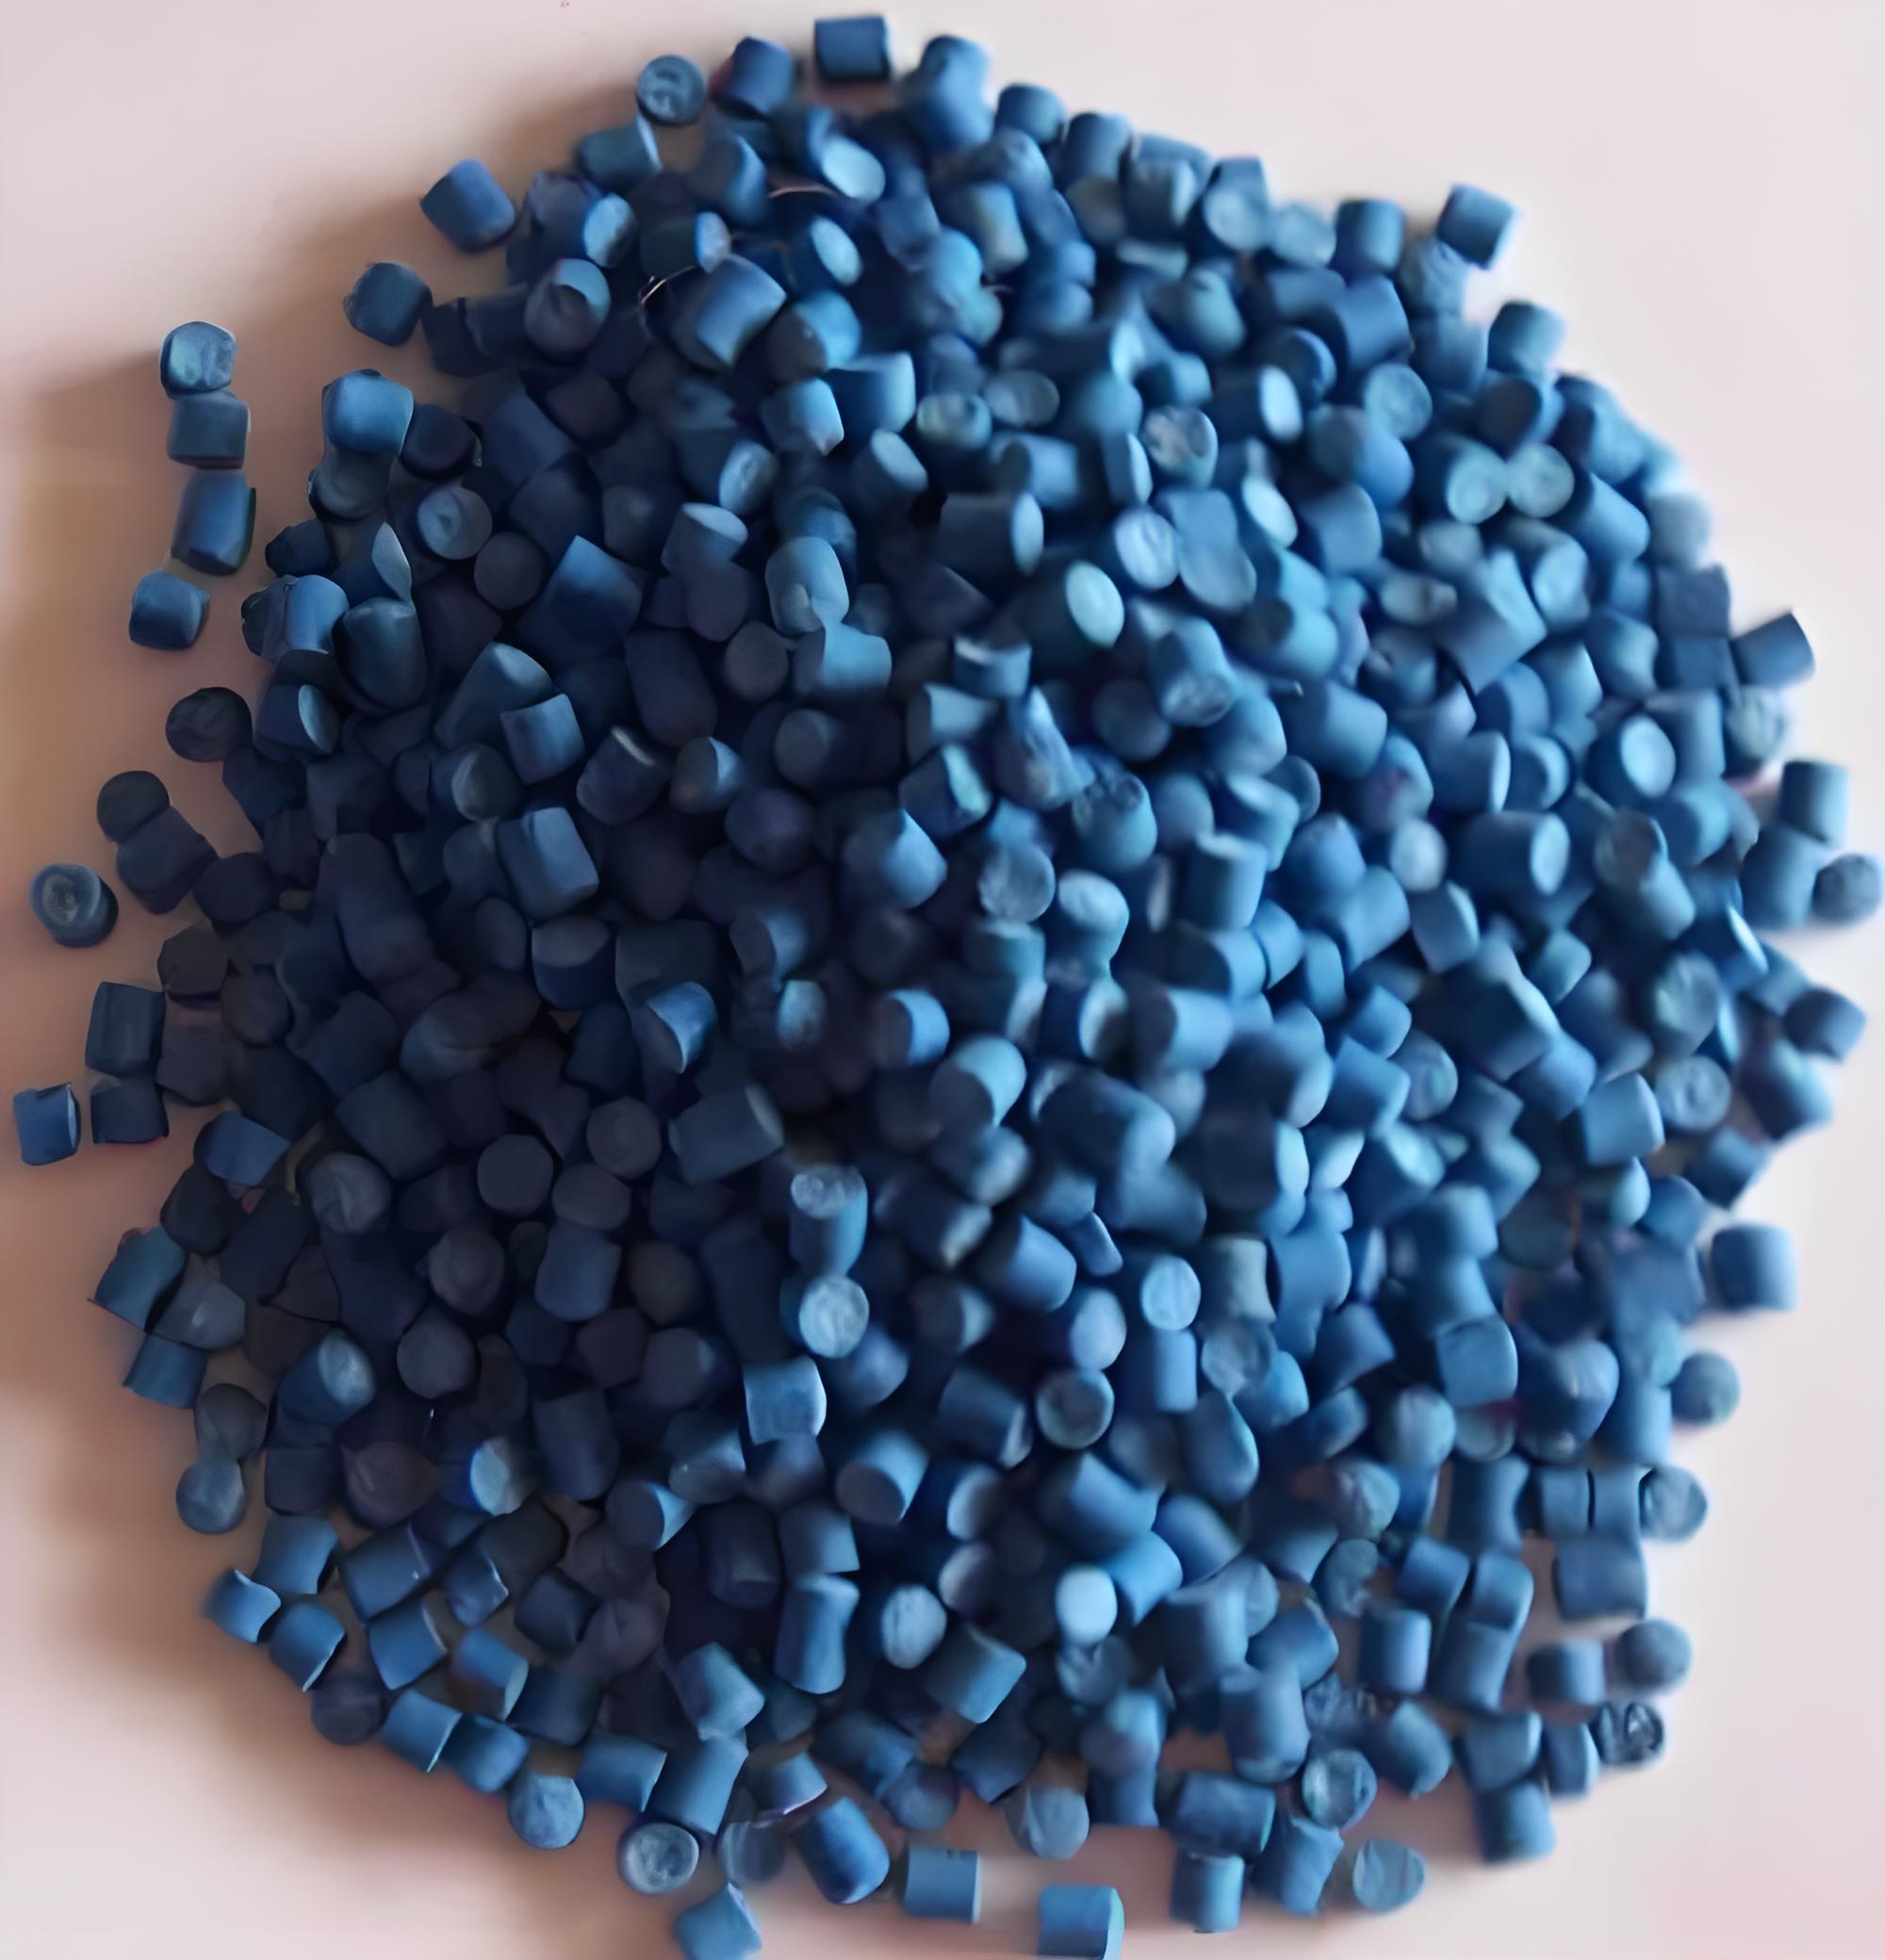
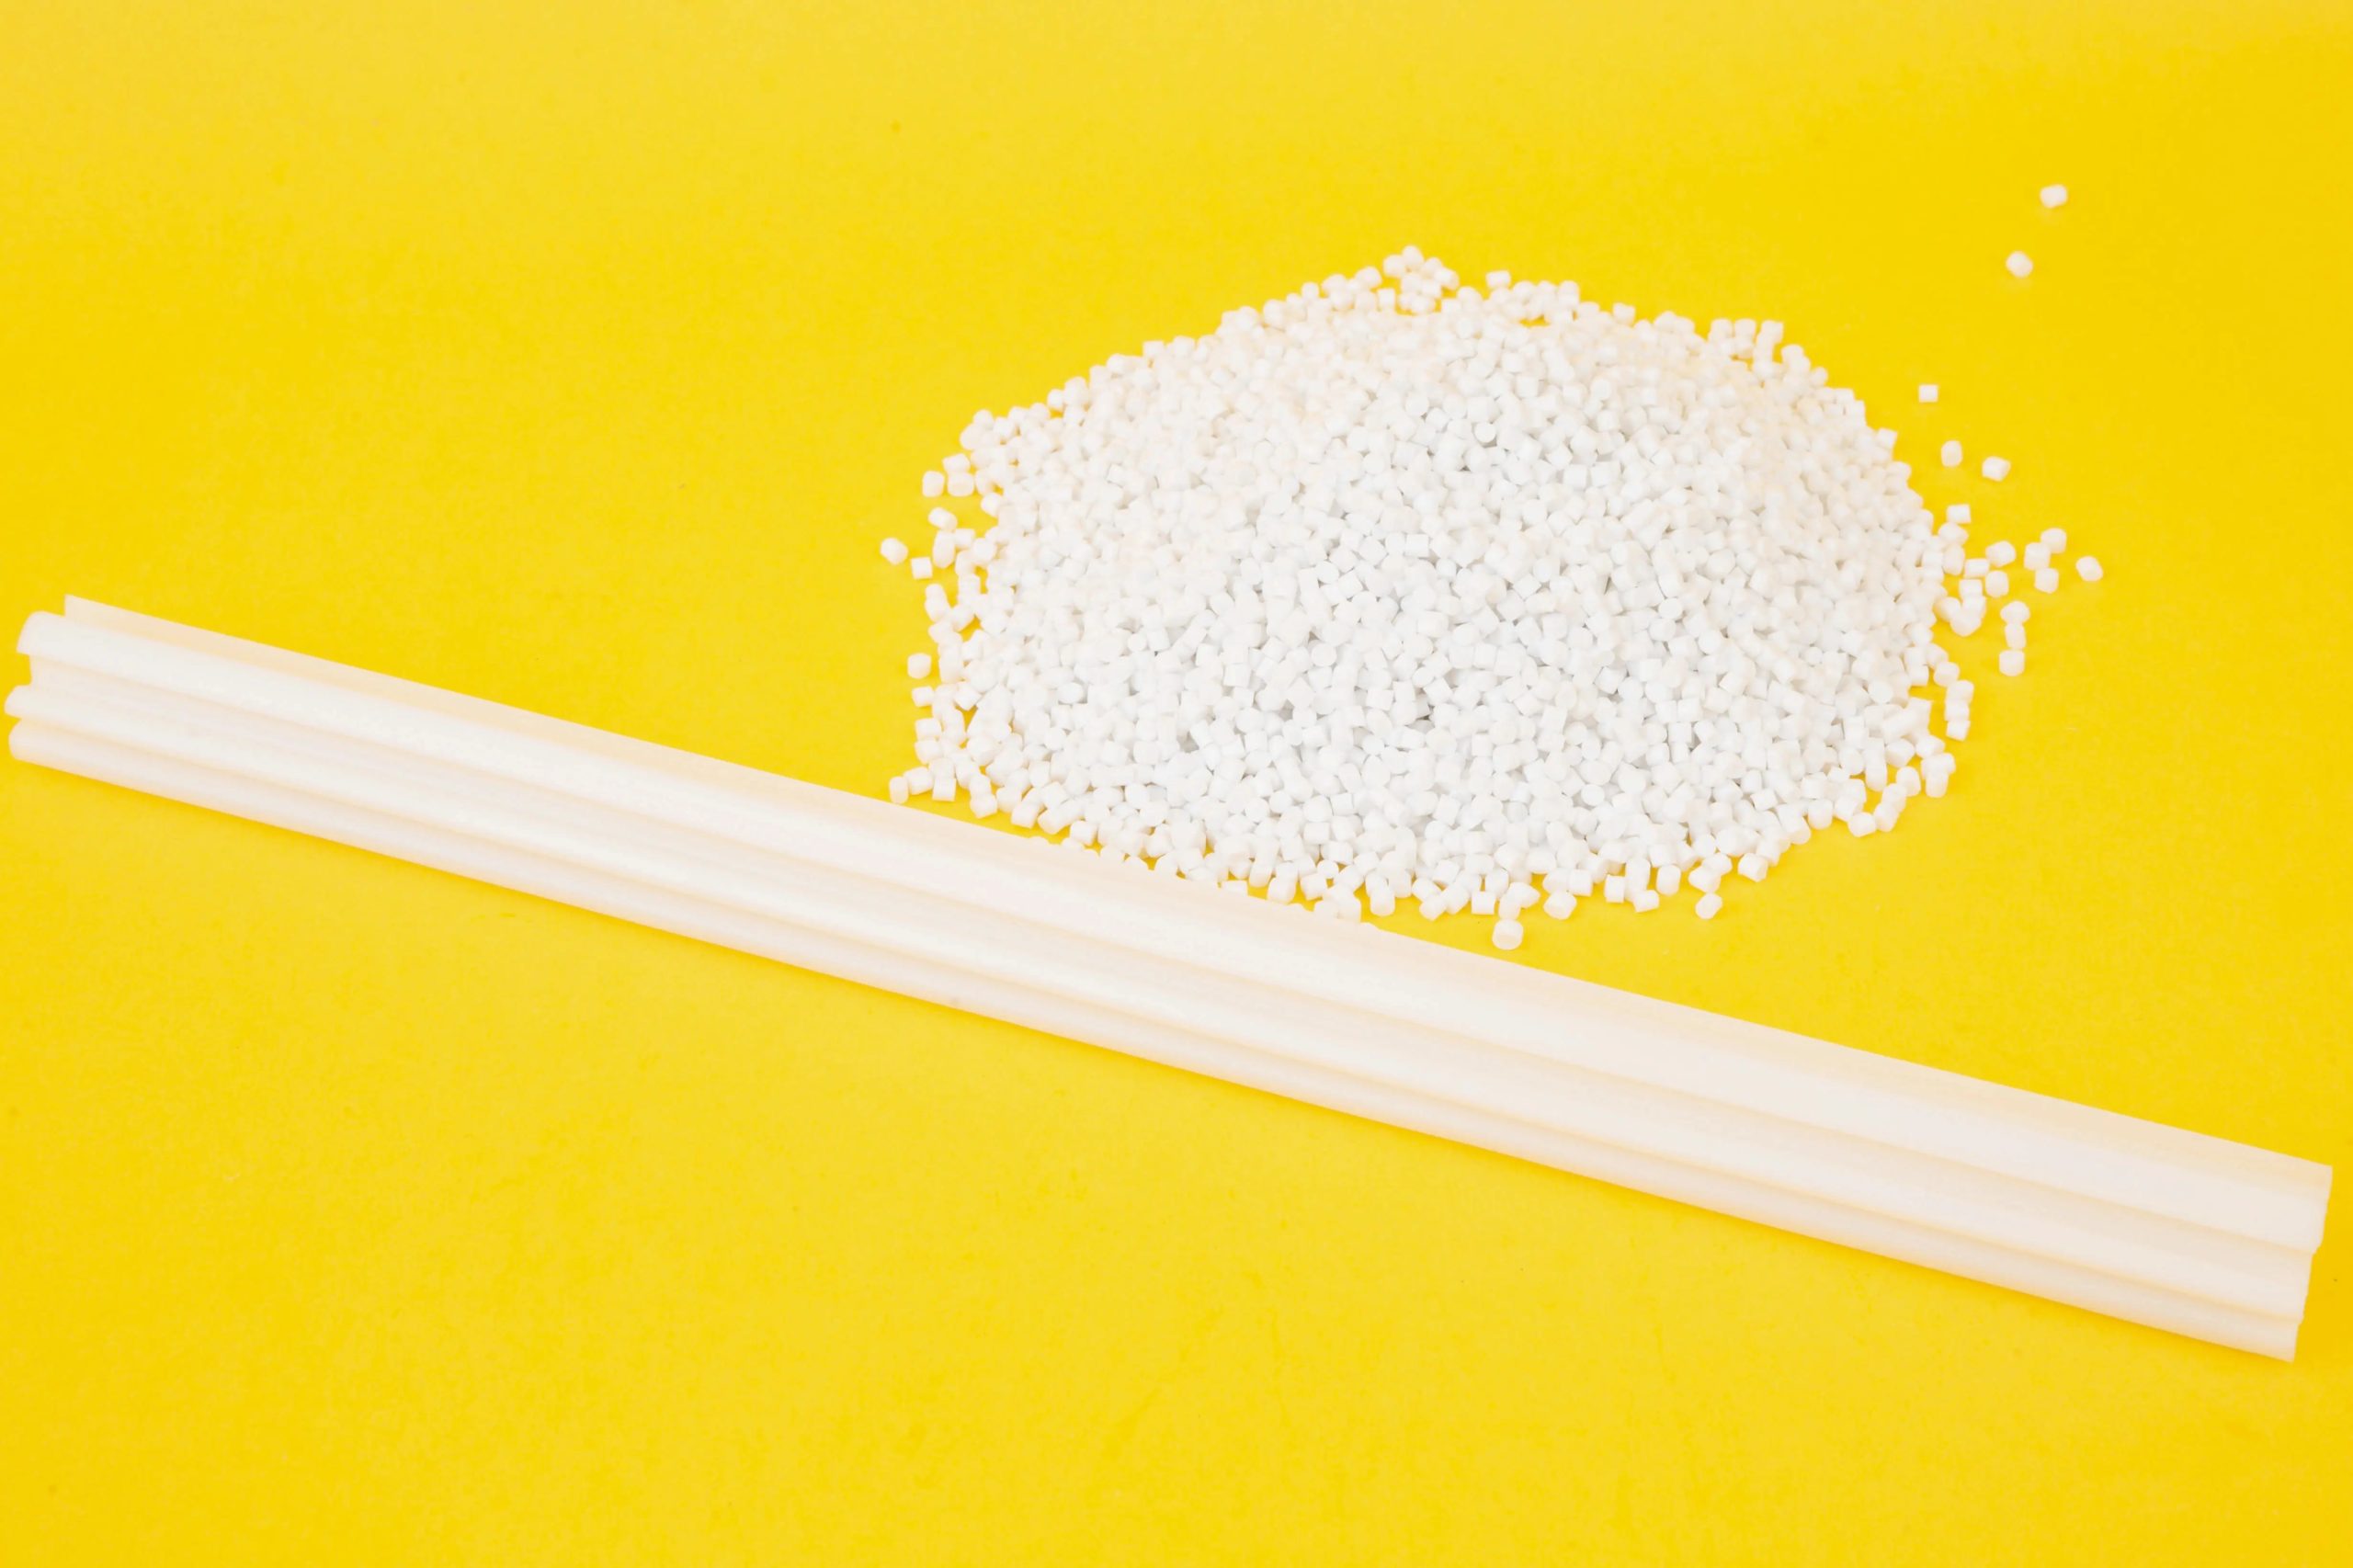
I’ve spent a good part of my career standing next to humming extruders, tweaking parameters to chase down elusive issues. Among the most stubborn — and frankly, one of the most aggravating — problems you can encounter when running TPE compounds is unexpected bubbles in your extrudate.
It’s not just an aesthetic flaw. Those bubbles can seriously undermine mechanical properties, cause warping or shrinkage downstream, and ultimately lead to rejected product or embarrassing customer returns.
I’ll walk you through what really causes these bubbles, how to track down the root of the issue, and most importantly, how I’ve learned to solve it in real-world production — not just on paper.

What’s actually behind this problem?
Most folks first think: “Maybe there’s moisture.” And that’s a very good instinct — moisture is indeed a primary culprit, but far from the only one.
Over the years, I’ve encountered plenty of other sources:
trapped volatiles from incompatible additives,
poorly devolatilized or recycled feedstock,
excessive shear causing polymer degradation (leading to small gas byproducts),
even something as simple as a hopper that was absorbing ambient humidity on a rainy day.
Understanding what’s generating the gas is half the battle. The other half is figuring out why your extruder isn’t getting rid of it.
Typical causes of bubbles in TPE extrusion
Here’s a summary table from my troubleshooting logs that might help frame your thinking:
| Cause | How it shows up in product | Root mechanism |
|---|---|---|
| Moisture in pellets | Random small bubbles, sometimes sizzling noise | Steam expands in melt |
| Volatile additives (low MW oils, slip agents) | Fine microbubbles or slight haze | Outgassing under shear |
| Polymer degradation | Irregular bigger voids, sometimes burn smell | Chain scission releases gases |
| Poor venting / backpressure imbalance | Bubbles near surface or in layers | Trapped air not purged |
Why TPE is especially prone to bubbles
TPEs, especially SEBS- or SBS-based compounds, often contain significant oil content, as well as small fractions of processing aids. These low molecular weight ingredients can volatilize under heat or shear.
Further, many TPEs have relatively low melt viscosity compared to engineering polymers like PA or PC. That makes them less capable of “holding” entrapped air or vapor bubbles under pressure, so bubbles expand more readily.
Also worth noting: TPE compounds based on recycled PP or PE often carry residual volatiles that were never properly devolatilized in the reclaim stage.

Key checks I always run on the line
Whenever I walk up to a line running TPE and see bubbles, here’s the systematic approach I use. Maybe it’ll be a handy checklist for you too.
1. Moisture check
Weigh out 100g of pellets, dry in an oven at 100-110°C for 2 hours, and reweigh.
If weight drops by more than ~0.1-0.2%, you likely had absorbent moisture.
Tip: Many TPEs aren’t super hygroscopic, but even 0.1% is enough to form visible bubbles in low viscosity melts.
2. Visual pellet check
Look for fines, dust, irregular cuts, or pellet surface cracks.
Irregular pellets sometimes indicate under-extruded compound that didn’t homogenize well in masterbatching — which can bleed volatiles.
3. Vent port or vacuum check
Ensure vacuum vent is pulling properly (typical: -0.8 to -0.9 bar for decent devol).
If no vacuum is installed, consider if your screw design is vented — many TPEs benefit greatly from a two-stage venting screw.
4. Melt temperature profile
Check with handheld probe along barrel. Excessive temperatures (or sudden hot zones) can cause local boiling of low-MW oils.

Real-world examples from my troubleshooting notes
Let me share a few cases from plants I’ve supported over the years.
Case 1: Moisture in summer humidity
One of my long-time customers in Vietnam was extruding a black TPE profile for automotive seals. The line ran beautifully for months — until monsoon season hit. Suddenly bubbles all over the surface.
Turns out their raw pellet storage silos weren’t sealed. Ambient humidity was over 80%, and the pellets were picking up just enough surface moisture. We installed simple inline desiccant hoppers, set at 80°C for TPE (higher isn’t needed like it is for PA), and the issue disappeared almost overnight.
Case 2: Low-viscosity oil causing micro-foaming
Another case was a consumer grip extrusion. They’d switched suppliers on their TPE compound to save costs. This new compound used a lower molecular weight paraffinic oil to soften it. Under high shear at 190°C in the extruder, these oils partially volatilized, creating fine microbubbles that gave a dull, hazy surface.
The fix was twofold: lower the melt temp by 15°C, and slow down the screw to reduce shear heating. They also changed to a compound using a heavier viscosity oil.
Case 3: Insufficient venting with recycled PP blend
A client was using a TPE heavily based on recycled PP. The reclaim had residual volatiles. Their extruder was a single-stage, non-vented screw. No surprise: bubbles everywhere.
We retrofitted with a simple vent port after 60% of the screw length, added a vacuum pump, and the improvement was immediate. Their scrap rate dropped by 80% the first week.
The role of screw and die design
Not enough people pay attention to this. Your screw design — especially for TPEs loaded with oil — is critical.
A longer decompression zone before the die helps bubbles escape.
Vented or multi-flight screws allow trapped air and volatiles to migrate backward under shear.
Even die design matters: abrupt pressure drops can cause “flash expansion” of any dissolved gases, so a gentle taper helps.
A comparative look at troubleshooting approaches
Here’s a small table I often show teams during training sessions:
| Issue | Quick field fix | Longer-term solution |
|---|---|---|
| Minor moisture | Lower throughput, more residence | Install inline dryer |
| Low-MW volatile additives | Reduce melt temp / shear | Reformulate with higher-MW oils |
| No venting | Slower line speed, open ports | Upgrade to vented / vacuum extruder |
| Recycled resin volatiles | Use fresh resin blend | Devolatize reclaim upstream |
If your extruder has a blank vent port (just atmospheric, not vacuum), try adding a short atmospheric hood with mild suction. Even -0.2 bar helps.
Add a little high molecular weight PP or PE to tighten up the melt structure, sometimes this physically restrains bubbles from growing large enough to be visible.
Keep your feed throat cool. A warm throat lets pellets melt prematurely, trapping air pockets that never get compressed out.

Why you should fix it before customers ever see it
Bubbles aren’t just cosmetic. They’re often the start of bigger quality headaches:
Weak spots in mechanical performance under flex or tension.
Uneven shrinkage in downstream cooling.
Difficulty in printing or bonding, since bubbles may pop later creating pits.
I’ve seen lines run “just good enough,” only to face warranty returns six months later when TPE gaskets start cracking along microvoids.
Related Q&A
Q: Can I just raise backpressure to force bubbles out?
Sometimes increasing backpressure (via tighter die or restrictor) helps squeeze small bubbles out. But if the gas generation rate is too high, you’ll just get bubbles later or risk melt fracture.
Q: Does adding calcium carbonate or talc help?
In small doses, yes. They act as nucleating agents and can help reduce bubble growth. But they don’t eliminate the gas — they just change how it’s distributed.
Q: Is vacuum absolutely necessary?
Not always. For low-volatility TPEs, good screw design with open vent ports can suffice. But with high-oil or reclaim-heavy compounds, vacuum is your best insurance.
Q: Can I see bubbles only after extrusion, like after cutting?
Yes — sometimes bubbles are trapped under pressure and only expand when exiting the die or being cut, where pressure suddenly drops. It’s why monitoring die swell and immediate surface is so critical.


