Having spent over a decade in the plastics manufacturing industry, I’ve worked extensively with thermoplastic elastomers (TPEs), a versatile material that combines the flexibility of rubber with the processability of plastics. TPEs are a go-to choice for products like soft-touch grips, medical devices, and automotive components due to their elasticity, durability, and ease of customization. One question I often get from clients and colleagues is: What’s the process for injection molding TPE materials? Getting it right is crucial for producing high-quality parts without defects like warping or poor surface finish. Drawing from my hands-on experience in factories and R&D labs, I’ll walk you through the TPE injection molding process, explain the key steps, highlight critical considerations, and share practical tips to ensure success.

Why TPE Injection Molding Matters
TPEs are unique because they offer rubber-like properties—softness, flexibility, and resilience—while being melt-processable like traditional thermoplastics. This makes them ideal for injection molding, a process that shapes molten material into precise parts using a mold. I’ve seen TPEs used in everything from phone cases to medical tubing, and the injection molding process is the backbone of producing these parts efficiently and consistently.
However, TPEs can be tricky to mold compared to rigid plastics like ABS or polypropylene. Their softness and sensitivity to temperature require careful control of processing parameters. I learned this early in my career when a batch of TPE grips came out sticky and deformed due to improper cooling. Below, I’ll break down the entire process, from material preparation to final inspection, so you can avoid common pitfalls and achieve professional results.
The TPE Injection Molding Process: Step-by-Step
Injection molding TPEs involves several stages, each requiring attention to detail to ensure the final product meets quality standards. Here’s my detailed guide based on years of optimizing this process.
1. Material Selection and Preparation
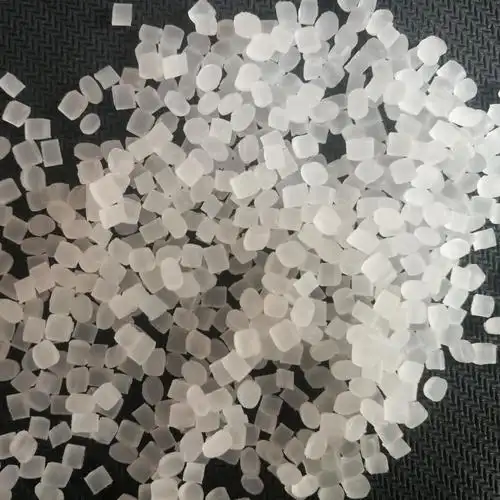
The first step is choosing the right TPE grade for your application. TPEs come in various types, such as styrenic block copolymers (SBCs), thermoplastic polyurethanes (TPUs), and thermoplastic vulcanizates (TPVs), each with unique properties like hardness (measured in Shore A or D), elasticity, and chemical resistance. I once worked on a project for soft-touch handles where we selected a 60 Shore A TPE for its balance of flexibility and durability.
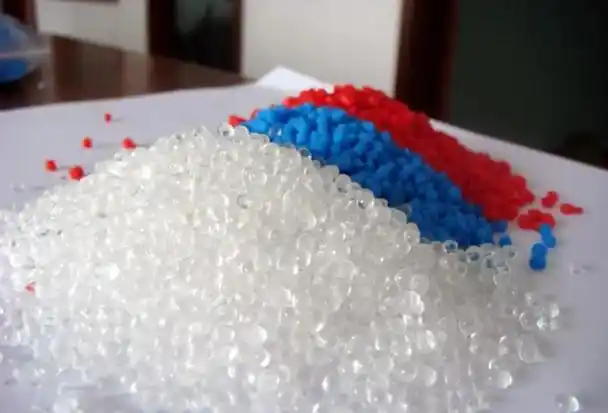
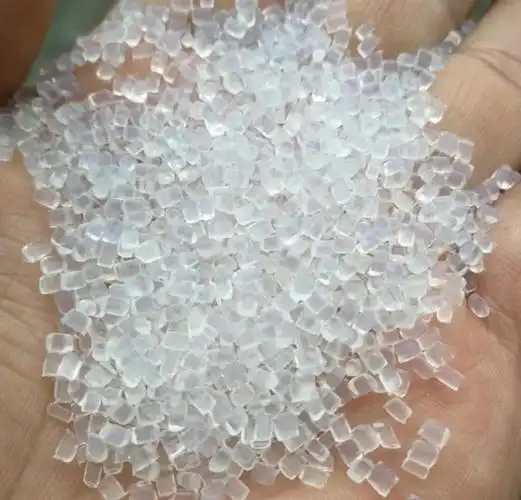
Drying: TPEs are hygroscopic, meaning they absorb moisture, which can cause bubbles or surface defects during molding. I dry TPE pellets at 80-100°C for 2-4 hours using a dehumidifying dryer to ensure moisture content is below 0.02%.
Blending: If colorants or additives (e.g., UV stabilizers) are needed, I mix them with the TPE pellets in a precise ratio to avoid inconsistencies. For a medical device project, we used a masterbatch to achieve a consistent blue color without affecting the material’s properties.
My Tip: Always check the TPE manufacturer’s datasheet for drying recommendations, as some grades, like TPUs, are more moisture-sensitive.

2. Mold Design and Setup
The mold is the heart of injection molding, and TPEs require specific considerations due to their elasticity:
Draft Angles: TPE parts stick to molds more than rigid plastics, so I use 1-3° draft angles to ease part release.
Surface Finish: For glossy parts, I opt for polished mold surfaces; for textured finishes, I use EDM (electrical discharge machining) to create patterns.
Venting: TPEs release gases during molding, so I ensure molds have 0.01-0.03 mm vents to prevent trapped air defects like burns or voids.
Gate Design: I prefer edge gates or sub-gates for TPEs to minimize shear stress, which can cause warping.
I once designed a mold for TPE gaskets with insufficient venting, leading to burn marks. Adding micro-vents solved the issue, and the parts came out flawless.
My Tip: Work closely with your mold maker to optimize gate size and venting for TPE’s flow characteristics.
3. Machine Setup
Injection molding machines for TPEs need precise settings to handle the material’s low viscosity and sensitivity to heat. I typically use a reciprocating screw injection molding machine for its versatility. Key settings include:
Barrel Temperature: TPEs melt at 160-220°C, depending on the grade. I start at the lower end (e.g., 160°C for SEBS-based TPEs) and adjust based on flow.
Mold Temperature: Keep the mold at 20-50°C to ensure proper cooling without sticking. For a TPU project, I used 30°C to balance cycle time and part release.
Injection Pressure: TPEs require lower pressure (50-100 MPa) than rigid plastics to avoid overpacking and flash.
Injection Speed: A moderate speed prevents shear heating, which can degrade TPEs. I adjust based on part geometry—faster for thin walls, slower for thick sections.
My Tip: Start with the manufacturer’s recommended settings and fine-tune based on trial runs to avoid defects like sink marks or incomplete filling.

4. Injection Molding Process
The molding process involves several stages:
Plasticizing: The TPE pellets are melted in the barrel, forming a homogeneous melt. I ensure the screw speed is low (e.g., 50-100 RPM) to avoid overheating.
Injection: The molten TPE is injected into the mold cavity. I use a multi-stage injection profile—fast initially to fill the mold, then slower to pack out the part.
Holding: A holding pressure (about 50-70% of injection pressure) is applied to compensate for material shrinkage as it cools. For a TPE phone case, I used a holding time of 2-5 seconds to prevent sink marks.
Cooling: The part cools in the mold for 10-30 seconds, depending on thickness. TPEs cool faster than rigid plastics but need enough time to set without warping.
Ejection: The mold opens, and the part is ejected using pins or air blasts. I ensure proper draft angles to avoid sticking.
My Tip: Monitor cycle time closely—typical TPE cycles are 20-60 seconds. Too short, and parts may deform; too long, and you lose efficiency.
5. Post-Processing
After ejection, TPE parts may need additional steps:
Trimming: Remove flash or gate marks using a sharp blade or laser cutter. I’ve found laser trimming works well for precise TPE parts like seals.
Surface Treatment: For enhanced aesthetics, I sometimes apply a silicone-based coating for gloss or a textured spray for grip.
Inspection: Check for defects like bubbles, sink marks, or warping. I use a magnifying glass for small parts to catch micro-defects.
My Tip: Set up a quality control checklist to ensure consistency across batches.

Critical Considerations for TPE Injection Molding
TPE injection molding requires attention to several factors to avoid defects and ensure quality. Here are the key considerations I’ve learned from years of trial and error:
1. Material Sensitivity
TPEs are sensitive to shear stress and overheating, which can degrade the material, causing stickiness or poor mechanical properties. I once had a batch of TPE grips turn brittle because the barrel temperature was set too high (230°C instead of 190°C).
Solution: Use a low shear screw design and keep temperatures within the recommended range.
2. Mold Release
TPEs tend to stick to molds due to their elasticity. I’ve seen parts tear during ejection because of insufficient draft angles or no mold release agent.
Solution: Apply a silicone-free mold release agent or use polished molds with adequate draft angles.
3. Shrinkage and Warping
TPEs have a higher shrinkage rate (1-3%) than rigid plastics, which can cause warping if cooling is uneven. In a project for TPE shoe soles, uneven cooling led to curled edges.
Solution: Use uniform mold cooling channels and maintain consistent mold temperatures.

4. Overmolding Compatibility
TPEs are often overmolded onto rigid substrates like polypropylene or ABS for products like tool handles. I’ve found that poor adhesion can occur if the substrate isn’t clean or compatible.
Solution: Choose TPE grades designed for overmolding and preheat the substrate to improve bonding.
| Consideration | Impact | Solution | Tools/Techniques |
|---|---|---|---|
| Material Sensitivity | Degradation, stickiness | Low shear, correct temps | Use TPE datasheet settings |
| Mold Release | Sticking, tearing | Draft angles, release agents | Polished molds, silicone-free spray |
| Shrinkage/Warping | Deformed parts | Uniform cooling | Cooling channels, 20-50°C mold temp |
| Overmolding | Poor adhesion | Compatible grades, clean substrate | Preheat substrate, test adhesion |
Common Defects and How to Fix Them
Despite careful planning, defects can occur. Here are the most common issues I’ve encountered and how to address them:
Sink Marks: Caused by insufficient holding pressure or cooling time. Increase holding pressure to 60-80% of injection pressure and extend cooling by 5-10 seconds.
Bubbles/Voids: Result from trapped air or moisture. Ensure TPE is dried to <0.02% moisture and improve mold venting.
Flash: Excess material from overpacking or poor mold fit. Reduce injection pressure and check mold alignment.
Warping: Due to uneven cooling or high shrinkage. Use uniform mold cooling and lower mold temperature to 20-30°C.

My Experience: Lessons from the Factory Floor
One of my earliest TPE projects was molding soft-touch grips for a kitchen appliance. We hit a snag when the parts came out sticky due to overheating in the barrel. After adjusting the temperature to 180°C and using a low-shear screw, the parts were perfect—soft, durable, and defect-free. Another project involved overmolding TPE onto ABS for tool handles, where poor adhesion was an issue until we switched to a compatible TPE grade and preheated the ABS. These experiences taught me the importance of precision and material knowledge in TPE molding.
Injection molding TPEs is a powerful process, but it demands attention to material prep, mold design, and machine settings. With the steps and tips above, you can produce high-quality TPE parts with minimal defects. If you’re starting a TPE molding project or troubleshooting issues, feel free to share details in the comments—I’d love to offer tailored advice from my years in the field!
Frequently Asked Questions
Q1: Can any injection molding machine be used for TPEs?
A: Most standard machines work, but a reciprocating screw machine with low-shear screws and precise temperature control is ideal to prevent material degradation.
Q2: How do I prevent TPE parts from sticking to the mold?
A: Use 1-3° draft angles, apply a silicone-free mold release agent, and ensure the mold surface is polished or coated to reduce sticking.
Q3: What causes bubbles in TPE molded parts?
A: Bubbles are usually due to moisture in the material or trapped air in the mold. Dry TPE pellets thoroughly (80-100°C for 2-4 hours) and improve mold venting.
Q4: Is TPE injection molding suitable for small production runs?
A: Yes, but mold costs can be high. For small runs, consider prototyping with 3D-printed molds or outsourcing to a molder with TPE expertise.


